

We have furniture, of course. We have furniture that we bought when we were young and our taste wasn’t what it should have been. We have furniture that friends gave us, and which we accepted because we needed furniture. And a lot of that furniture has upholstery that is Hideous, Worn-Out, or Both. (Mostly Both.) So now that we have a house that’s ours, and that we can decorate to our own taste, and some money to spend in decorating, it’s time to do something about the Hideous Worn-Out Upholstery.
Lise is a very capable person, willing to learn almost any craft or home-repair skill, so learning upholstery just sounded to her like a fine thing to do. Besides which, it was the only thing (short of surgery) using a needle and thread that she’d never tried. And that was why she went down to Austin Community College and signed up for their upholstery course.
The first thing she took on was a tall-back rocker. Its fabric was originally a stomach-turning combination of teal chrysanthemums, over-ripe pomegranates, ridiculously orange peonies and coreopsis, and an unidentified yellow something, probably late-Fifties in date.
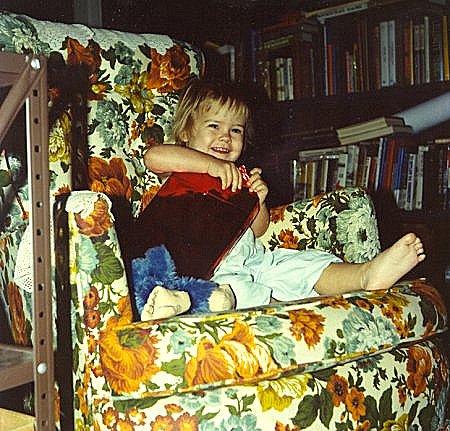
This is what it looked like before. (Our daughter Taz was opening a Christmas present; she’d just turned two at the time.)
This is what it looked like afterward. The tapestry fabric is one that Lise saw on a wing chair at a mystery bookstore in San Antonio, and decided was absolutely the ideal thing for a family of bibliophiles. The fabric picks up several colors in the drapes, which can be seen below.

Her latest project at the ACC upholstery lab was redoing a queen-size sleeper sofa, which she bought in 1978 from Montgomery Ward. The class meets once a week for four weeks, and the instructor expects you to finish in that time, if at all possible. (If you don’t, you re-register and take the class again.) The first Saturday, Lise and I spent ripping off the old fabric and padding, and gluing it back into one piece.

Here it is on the sawhorses, just before we began tearing it down. Please note the Scratchy Nubbly Polyester Fabric In An Extremely Ugly Oversize Plaid of Assorted Muddy Browns, and the prolapsed back cushions. The sleeper unit, seat cushions and bolsters have already been removed. That turned out to be an Adventure of Discovery, as we found petrified Cheerios, old floppy disks, fugitive scalpels and scissors, and other Stuph that fell out as we disassembled it. The curve on the inner surfaces of the arms is not intentional—that turned out to be a thin layer of foam over corrugated boxboard, which had half-collapsed over the years. Lise got the honor of chasing out the resident spiders—I have a thing about them.
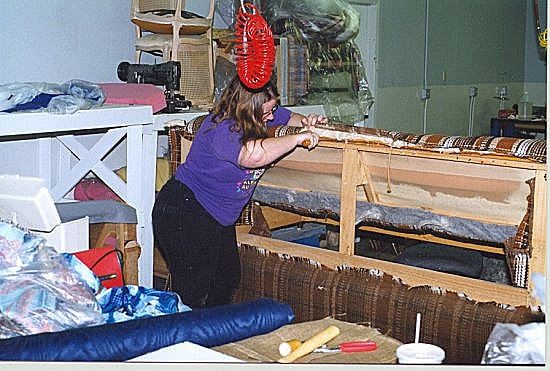
Lise is removing the fabric from the back cushions, which had to be taken off in one piece to provide a template for the new cushions. On the table in the foreground is the roll of fabric she’s going to use to re-cover it, a moiré-patterned navy jacquard.
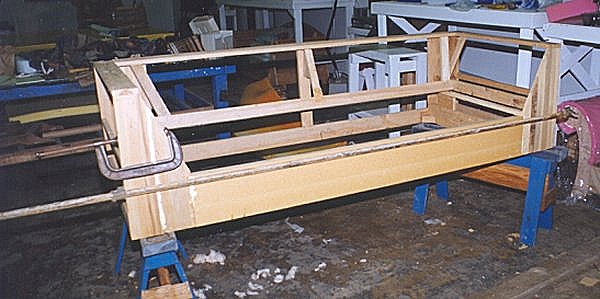
The frame is exposed, glued, and clamped to repair the places where it was pulling apart.

The second Saturday was devoted to getting the webbing stretched over the frame, the burlap sub-decking on the back, and the foam and fabric applied on one arm and the footboard. Unfortunately, I mis-threaded the film in my camera so there aren’t any pictures of that phase. Our photographic narrative picks up with the third Saturday, when a lot happens.

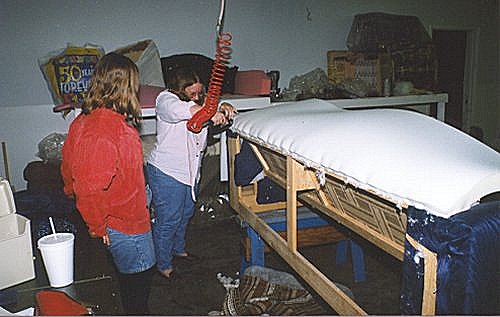
Lise is stapling the foam for the back cushion as Taz watches. The staples have to go through two-inch-thick foam, which is why air-powered staplers are almost a necessity.
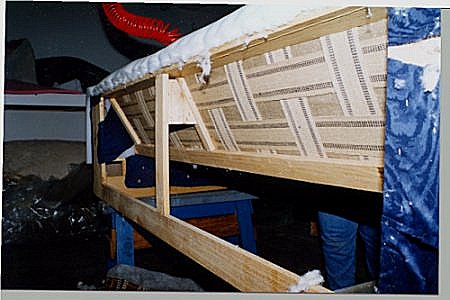
With the back still off, the casual observer can see the four-inch webbing that will support the back and arms. The original Motgomery Ward job had no webbing at all—just foam and cotton batting, and corrugated cardboard in the arms. This will make it hold up far better. Lise’s legs can be seen just beyond the bottom edge of the back; she was standing inside the sofa to staple down one end.
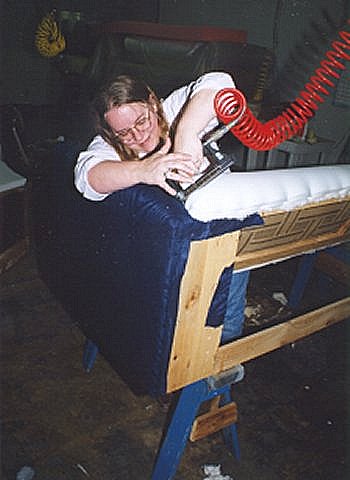 Tacking down the foam around corners is always awkward and difficult. |
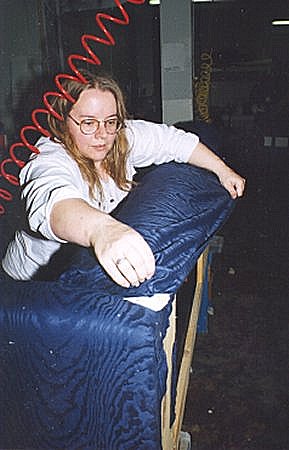 Just as bad as tacking down the foam is getting the fabric to lie smoothly over it, and swedging down several thicknesses of fabric so it doesn’t look lumpy. |
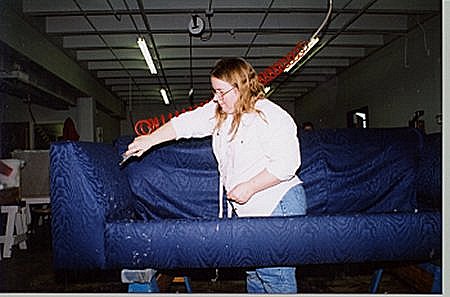
When you fool around with upholstery, you get cotton lint from the batting all over creATION, and it sticks to everything! That’s when a high-power air hose comes in very handy to blast the lint away, where it can be swept up later.
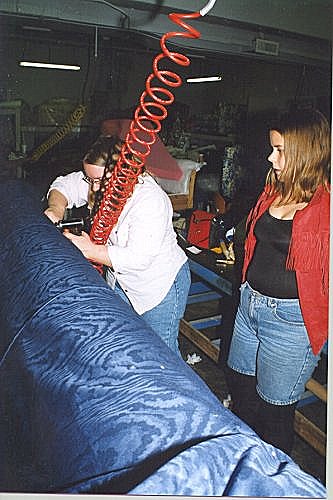
Taz still isn’t quite sure whether her mom should be trusted with Implements of Destruction like this, and has this feeling that maybe she ought to back out of range, but Lise keeps banging away, stapling down the fabric over the back.
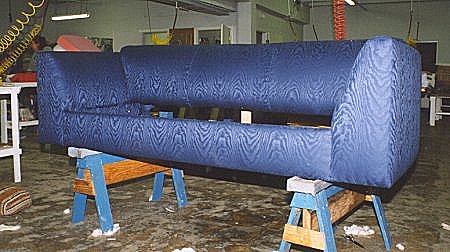
All done! The front, arms and footboard are all upholstered and covered. If I do say so myself, this picture shows up the moiré pattern nicely. The flash is a little hot, so it looks as though the fabric is somewhat lighter than it actually is.
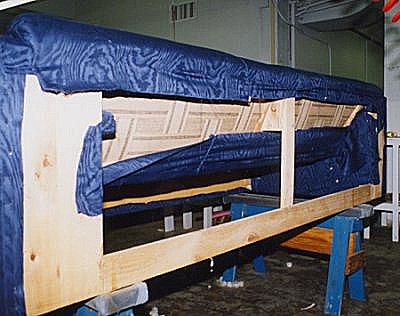
Well, almost all done. Lise’s goal for the final Saturday was to put on the back fabric and make the three seat cushions and two bolsters, which was the end of the project (and the end of the class, as well, so she needed to hurry).

Work on the last day didn’t go as fast as hoped for—first one snag and then another seemed to keep appearing, according to Finagle’s Law of the Perversity of the Inanimate.
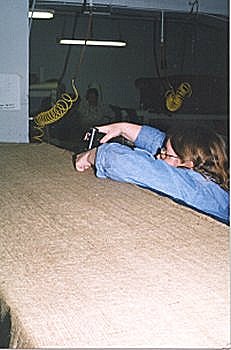 When you’re not that much over five feet tall, trying to work at brow level is just plain awkward. Here the sofa is stood on its nose, and Lise’s stapling the burlap layer over the back. |
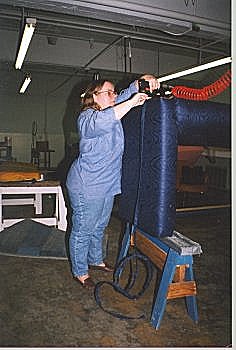 Next the welting is stapled on. As with most of the project, Lise had to make the welting herself, from the bias-cut upholstery fabric and a plastic-cord core. | |
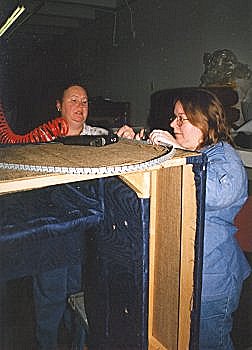 Class instructor Brenda Townsend gives Lise advice on how to attach a strip of fierce-looking metal clips called “curvees,” which will hold down the top layers of fabric. |
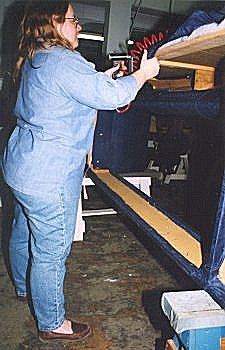 And finally she gets to the last step—pulling and stretching the bottom edge of the top layer of fabric. Pull, grunt, and staple is the method here. |

And this time it really is done. We flipped it over onto its nose again, re-installed the sleeper set inside the frame, loaded it onto the truck and took it home with us.
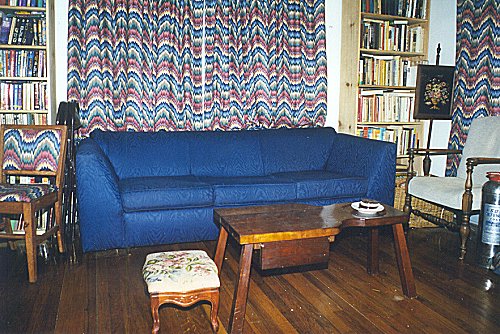
And this is how it looks now that it sits in our living room. She eventually got the bolsters made, although they turned out not to be stuffed properly and could use a re-do one day. You can also see one of the chairs that she talks about below, re-upholstered and in use. And I’m going to get the rest of that set wound up Real Soon Now, too.

While I’ve been working on the sofa (maybe there’s a song title in there—naah.), Sam has also been busy. Last summer we found a set of 1960s-vintage pickled-oak dining-room chairs in the attic, that somebody had shoved up there years ago. They were upholstered in mouse-gnawed Nubbly Avocado Polyester Fabric that achieved, in spite of all odds, the dubious prize of being even uglier than the sofa.
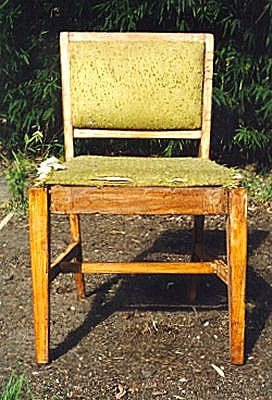
We told you it was ugly! Admittedly, the finish looks worse than it did when the chair came down from the attic, because it’s already had a coat of chemical stripper applied to start loosening the ruined finish. But then a new problem came up: before we finished stripping the chairs completely, other projects made us put them aside for a while, and the stripper soaked into the wood and stained it. So now we not only have the old finish to be removed, we have to get rid of the stains the stripper left. I’ve already made the new seat and back cushions and covered them with a Waverly print fabric, a flame-stitch bargello that has enough colors in it to go with almost everything we already have, without looking overly busy. Since we don’t have a shop, Sam has to work on the frames outside, so his progress has been sporadic.
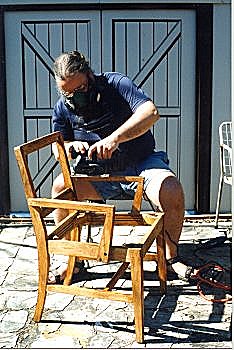
Sam’s sanding away on the captain’s chair (you can tell because it has arms on it). Between the sawdust, the chemical dust, the dirt, and the general what-have-you, the respirator is a must. Ours is a dust-and-vapor mask that we can use for painting and chemicals work as well. Tasha says it makes Sam sound like Darth Vader when he wears it, but Sam says it’s very effective so never mind what he sounds like. <g>
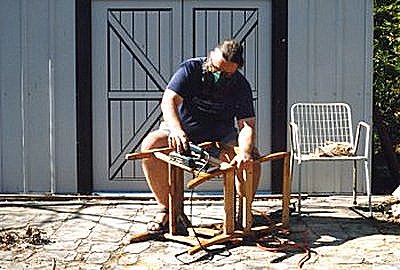
Still grinding away. Sam’s using our B&D oscillating sander, which he thinks is OK for a starter, but he’ll probably get something better when this one burns out. For corners and details (I know, I know—Danish Modern has details??) he uses a Ryobi detail sander that does a pretty good job of getting into the tight places.
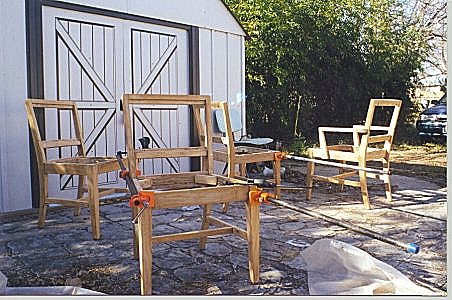
And now he gets to play with glue and clamps. In the end, he was able to re-use all but one of the corner blocks, although he swore mightily about getting them to stay in place. (I think that some of them came loose afterward anyway, and need to be re-glued.) Pipe clamps are wonderful and cheapie things for clamping very big things together—they cost about $20 for the two jaws, vinyl jaw pads (highly recommended if you don’t want to leave visible dents in the furniture) and a length of half-inch or three-quarter-inch black pipe, and you just buy the pipe as long as you want it to be. We have three four-foot clamps, one three-foot, and one five-foot.
Since the last picture was taken, Sam got one coat of stain on all four chairs, and the seats and backs attached to two of them in time for the party. The third one just didn’t want to have its seat screwed down, and he found out that he’d cut the back for the captain’s chair too small by a quarter of an inch all around, so there’s nothing to screw it to the chair. Once he cuts another back piece, I’ll take some more fabric and upholster it. And while I’m doing that, Sam will be re-gluing all the joints that he didn’t glue the first time and that came undone when one of the guests sat down, and then putting on a second coat of stain.

If you haven’t already, please sign our 